Water can damage your iPhone pretty badly. It should be treated as an emergency. Water connects your current-circuits together which leads to the stain on screen and causes shortage of the circuits and dock connector, which further results in; your device to become a really expensive paper-weight, as it will be useless.
If iPhone stops functioning because of its contact with water, you can repair it by carefully following the steps described below along with screenshots. It is a quick job if you have proper tools.
a) Pentalobe screw
b) Phillip-Head screw driver
c) Set of tweezers
d) Pry tool of any type
e) Bottle of Isopropyl Alcohol
1. First you have to remove the logic board, by using the Pentalobe screw driver take out the two screws you see on the bottom of your iPhone.

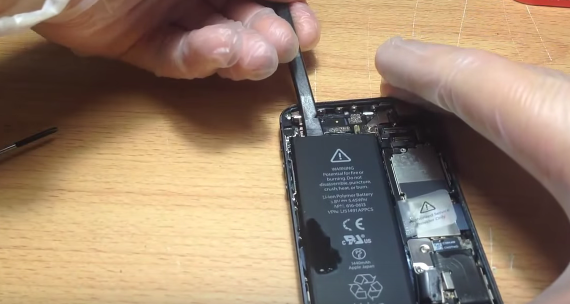
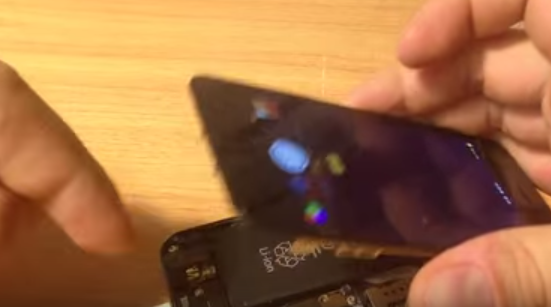
2. Insert the pry tool as shown in image below in your screen, you can use pry tool or any sharp blade. Lift it open by pulling the screen up at 45 degree angle. Remove three small screws with Phillip-Head screw driver from the metal plate as shown below.


3. Below the metal plate is three small cables attached with the LCD, to remove the cables you will need to use pry tool to pluck the cables out.
4. Pry all three cables out and remove the screen completely out from board. As you can see below there is water on the battery area, now you have to gently remove all the other parts.


5. By using Phillip-Head screw drive take out the two small screws holding the battery attached with the board.
6. Make sure your battery is completely off use pry tool to chip it off, it might be sticking with the board because of glue you can take it off by pulling it up as shown above.

7. Now take out two screws from small logic board and below it you will see a small cable. By using pry tool or tweezers pluck it out gently. Inside it you will see a small metal plate and three screws holding it shut. Remove the screws as shown below.

8. Remove the plastic strip gently by using pry tool and take it out completely off and under it you will see a small screw, take it out with screw driver and also the second screw you see on the top right of board.


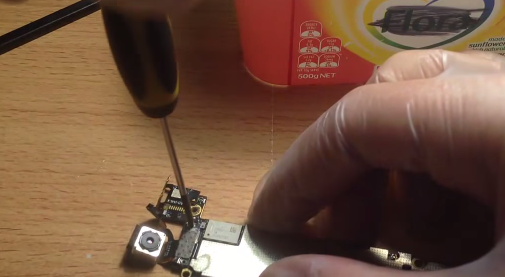
9. Take out the camera by using pry tool, you have to remove two small screws attached with an small plate. By applying small pressure gently take the camera out.

10. Removing camera is necessary to take out the logic board. Use a pry tool and rub it along the edges to scoop the logic board out. After that move the logic boar to the left side and you will see a small clip holding it attached with the battery terminal as show below.

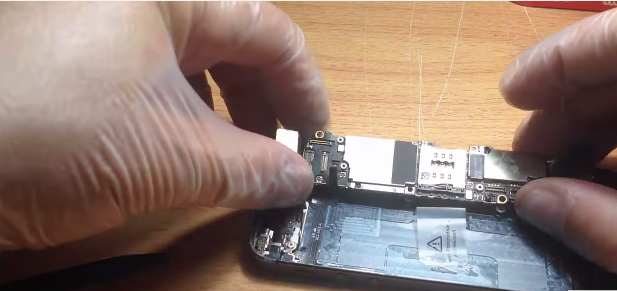
11. Now detach the logic board completely out of your iPhone body and remove camera by taking out the screw with the Phillip-head screw driver.
12. Now take a big plastic box and fill it with half glass water and add Isopropyl Alcohol (just few drops) and drop the logic board in the solution of Alcohol for couple of seconds. Use n old tooth brush and with the same solution clean the rest of your iPhone.
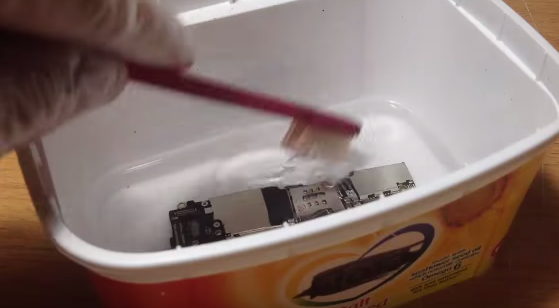
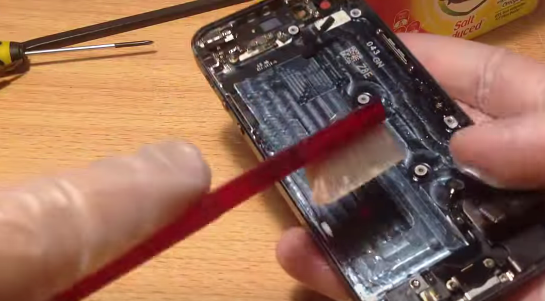
13. After 10 or 15 minutes take out the logic board out of the solution and rub it gently with tooth brush and put it on a towel or paper piece for some minutes so it is completely dried up. Assemble back the iPhone with the help of above screenshots
14. You have just finished repairing your iPhone which was damaged by water.
The post BEST FIX: Steps to repair a water damaged iPhone 5 appeared first on Appuals.com.