Android devices are popular not only because of the huge app store, but because the software supports multiple storage expansion formats. Android handset and tablet owners can use a number of software and hardware solutions to increase the amount of space available on their device, making it possible to carry your entire media library with you.
There are two primary ways to expand storage on an Android-powered device.
Use a Micro SD Card
Most Android devices support Micro SD card expansion. Depending on the device you use, you might be required to either lift off the back cover of the device, or use a SIM extraction tool to remove a dedicated expansion card slot.
Find the slot, which should be labelled ‘Micro SD’, and insert the SD card into the slot. Close the latch or replace the back cover.
Activate the SD Card
To use the SD card on your device, you’ll need to check your notification center on your device.
Step One: Find the Notification
After you insert the card, a notification should appear that alerts you to the card’s presence. If you do not receive this notification, you might not have fully inserted the SD card, or you could have inserted it the wrong way around
Step Two: Choose an Option
Android allows you to expand your storage in two different ways. One option is ‘Portable Storage’, which means you will be able to move photos, music, documents and data from your phone to the SD card and vice versa.
The ‘Internal Storage’ option makes the SD card act like an extension of the internal storage, meaning that data can be stored on your SD card without having to manually move them. Android will automatically place data that can’t fit onto your phone onto the SD card.
Choose the option you prefer, wait for the loading bar to reach 100%, and then press ‘Done’ when it is complete. At this point, your phone will recognize the SD card for use.
How to Move Apps to an SD Card
If you have formatted the SD card as an ‘internal storage’ card, then you will be able to move apps over to the card and leave more space available on your internal storage.
Step One: Settings
Open up the settings menu by pulling down the notifications menu at the top of the screen, and pressing the settings gear on the top right. Scroll to ‘Device’ and choose ‘Apps’.
Step Two: Choose Your Apps
You will be presented with a list of applications on your device. Find the applications you want to move from your internal storage to your SD card, and tap them individually. Each time you tap an app, you will be given options. Choose ‘Storage’.
Step Three: Change Storage
Underneath the ‘Storage Used’ option, tap ‘change’. Here, you will be given the option to change your storage settings. Choose the SD card and follow the on-screen instructions. Once complete, you will have extra space available on your internal storage and these apps will be located on your removeable card.
Embrace the Cloud
Beyond SD cards, Android makes it possible to access all your data and files through the cloud. As long as you have a reliable 4G connection, or regular access to Wi-Fi, you will be able to store all of your personal data online in a secure app called Google Drive.
While there are plenty of cloud options available for Android users – including DropBox and Microsoft’s OneDrive – Google has its own application called Google Drive which allows you to store your files and data easily and for free.
Google Drive offers 15GB of free storage, and also gives you access to Gmail and Google Photos. Google Photos will automatically take your photographs from your phone and upload them to your drive to ensure you never lose them.
Here’s how you set up your free Google Drive account from your computer, which prepares you to use the app.
Step One: Sign In
Head over to www.drive.google.com , where you will be given the chance to set up a Google account. Create an account, or use your Google login if you already have an account.
Step Two: Become Familiar
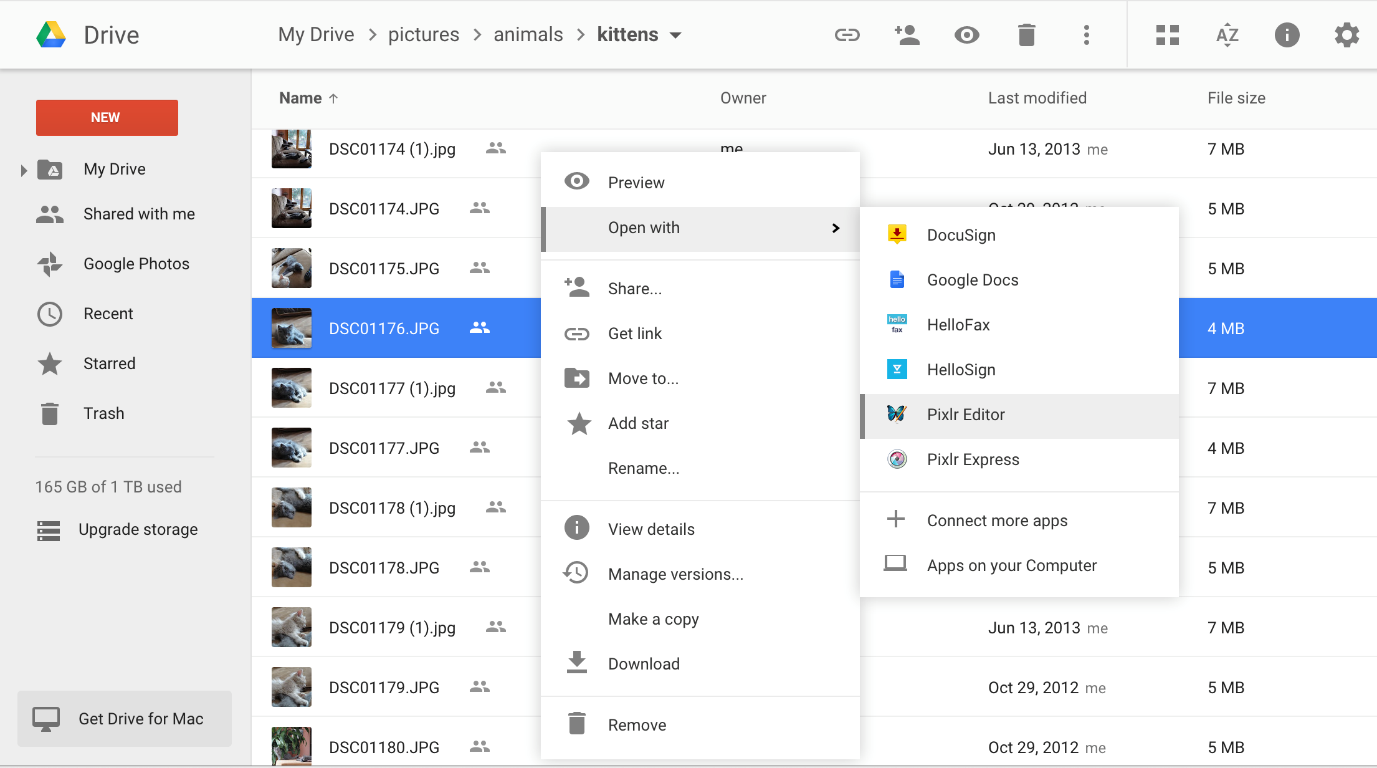
Once you log into your Google Drive, you will see a list of options on the left-hand side of the screen. These options include ‘My Drive’, ‘Shared With Me’, ‘Starred’, ‘Recent’, ‘Trash’ and ‘More.
Step Three: Access Your Drive
Click ‘My Drive’ and you will be taken to a Windows Explorer-style page where you can create and upload new documents. The large ‘NEW’ button on the top left of your screen will allow you to create new word and spreadsheet documents, and save them automatically to your drive.
Step Four: Learn the Options
Explore the remaining options beneath ‘My Drive’, where you can access files that have been shared with you by other users. You can also access photos and recent files.
Step Five: Using Your Handset
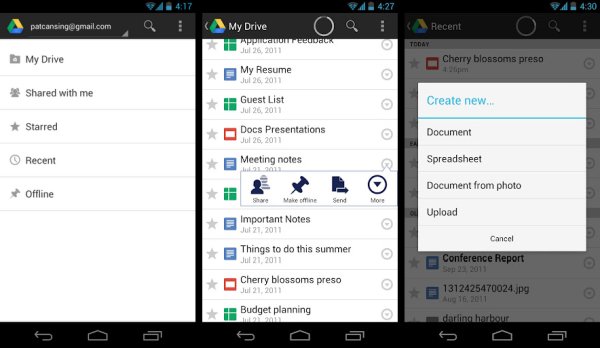
Your Android handset should already include the Google Drive app. If you don’t already have it, you can download it for free from the Google Play Store.
Once you log in, the app will show you a very similar format as you have seen on your PC. You will be given a vertical menu where you can choose between ‘Shared’, ‘Recent’, ‘Photos’ and more.
The post How to Get More Storage on Your Android Phones appeared first on Appuals.com.