Some users are encountering the Could Not Create the Java Virtual Machine error when trying to launch an application that is using Java. This particular issue is reported to occur with Minecraft and several other applications that are built around Java.
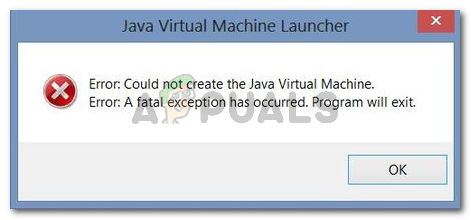
Error: A fatal exception has occurred. Program will exit.
What is causing the Could Not Create the Java Virtual Machine error?
We investigated this particular issue by looking at various user reports and the troubleshooting strategies that they used to resolve the same error message. Based on their conclusions, there are a couple of scenarios that will trigger this particular issue:
- Java is invoked by the wrong arguments or options – This can occur if you’re running a home brewed application or you’re trying to open an open-source application that is known to cause system instability.
- Java global maximum heap memory is not high enough – One of the most common causes why you can encounter this particular error is if you try to start a Java application with a maximum heap memory size larger than the one set as the System Variable.
- Java executable and/or application require administrative privileges – This might happen with applications that need admin access in order to function properly.
If you’re currently looking for a way to resolve the, Could Not Create the Java Virtual Machine error, this article will provide you with several verified troubleshooting strategies. Below you have a collection of methods that other users in a similar situation have used to get the issue resolved.
To ensure the best results, follow the methods below in the order that they are presented until you discover a method that is effective in resolving the error for your particular scenario.
Method 1: Adding the _JAVA_OPTIONS to System Variables
Most affected users have managed to get the issue resolved by creating a System Variable for Java called _JAVA_OPTIONS and setting it’s value to Xmx512M. What this essentially does is it sets the global maximum heap memory size for Java.
This will resolve any error message that occurs because the started Java application’s maximum heap memory size is larger than the one set as the System Variable. Several users encountering the same issue have reported that the issue was resolved entirely after they performed the steps below.
Here’s what you need to do to add a _JAVA_OPTIONS entry in System Variables to enlarge the global maximum heap memory size:
- Press Windows key + R to open up a Run dialog box. Then, type “sysdm.cpl” and press Enter to open up the System Properties screen.
- Inside the System Properties screen, go to the Advanced tab and click on Environment Variables.
- In the Environment Variables window, click on New (under System Variables).
- Inside the New System Variable window, set the Variable name to _JAVA_OPTIONS and the Variable value to –Xmx512M and click Ok to save the changes.
- Close the previously opened windows and restart your machine to enforce the changes.
- At the next startup, open the application that was previously showing you the Could Not Create the Java Virtual Machine error and see if is now functioning properly.

If you’re still seeing the same error message at the start of the application, move down to the next method below.
Method 2: Opening java.exe with admin rights
Several users struggling to resolve the same issue have managed to get the issue resolved after forcing the main Java executable (java.exe) to open with administrative privileges.
Some users reported that they were able to resolve the issue after applying this fix on both the main java executable and the executable of the application that is showing the error message.
Here’s a quick guide through the whole thing:
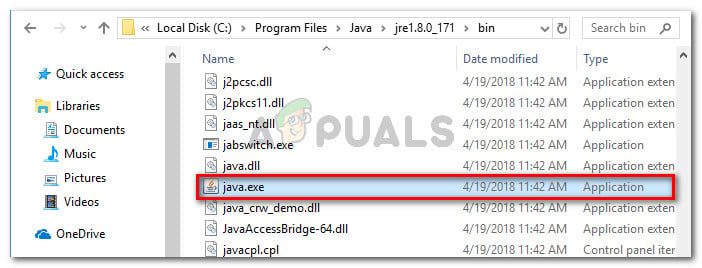
- Open File Explorer and navigate to the location of your java installation. We’ll need to arrive at the location of the main Java executable (java.exe). By default, you should find it in Program Files/Java/*JRE build version*/bin. The exact location will differ depending on which Java Runtime Environment you’re using.
![Navigate to the location of java.exe]()
Navigate to the location of java.exe Note: If you installed Java in a custom location, navigate the custom location instead.
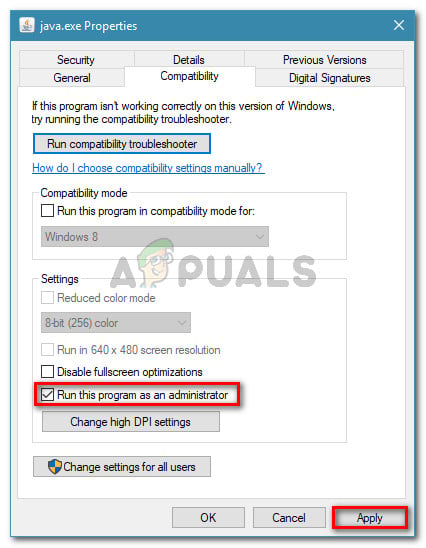
- Right-click on java.exe and choose Properties. Then, go to the Compatibility tab and check the box associated with Run this program as an administrator (under Settings). Click Apply to save the changes.
![go to Compatibility tab and enable Run this program as an administrator]()
go to the Compatibility tab and enable Run this program as an administrator - Right-click on the application executable (the one that is triggering the error) and repeat the same procedure: Compatibility > Run this program as an administrator > Apply.
- Run the application and see if the error message is resolved.
The post Fix: Could Not Create the Java Virtual Machine appeared first on Appuals.com.