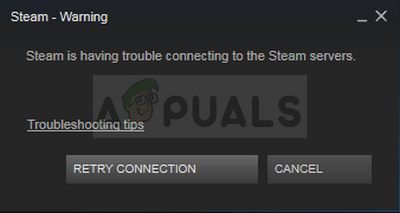
This Steam-related problem appears after trying to log into your Steam account on the Desktop version of the app, just after you input the login info or after the auto-login process has started. The problem is a very serious one as multiple users haven’t been able to access the Steam client at all for a couple of days.
Many different solutions to the problem emerged after a while and we have chosen the solutions which have helped the most users and presented them to you in a detailed article. Follow the instructions and hopefully, you will resolve the problem!
What Causes the “Steam is having trouble connecting to the Steam servers” Error Message in Steam client?
- Various broken or misconfigured Internet connection settings which can be resolved with simple commands in administrative CMD
- Administrator permissions being required by the Steam executable in order to solve permissions/networking problems
- UDP protocols may not be a good thing to use to try forcing TCP protocols
Solution 1: Reset WinSock
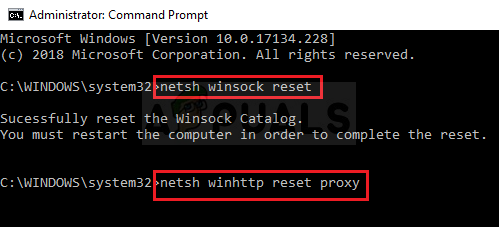
“netsh winsock reset” is a helpful command that you can use in Command Prompt to reset winsock catalog back to default setting or its clean state. You can try this method if you are experiencing the “Steam is having trouble connecting to the Steam servers” when trying to launch and login into Steam.
- Search for “Command Prompt” by typing it either right in the Start menu or by pressing the search button right next to it. Right-click the first entry which will pop up as a search result and select the “Run as administrator” context menu entry.
- Additionally, you can also use the Windows Logo Key + R key combination in order to bring up the Run dialog box. Type in “cmd” in the dialog box which appears and use the Ctrl + Shift + Enter key combination in order to run Command Prompt using administrator privileges.
- Type in the following command in the window and make sure you press Enter after typing it. Wait for the “Winsock reset completed successfully” message or something similar to know that the method has worked and you haven’t made any mistakes while tying.
netsh winsock reset
netsh int ip reset reset.log hit
- Check to see if you still struggle with problems regarding your Steam problems.
Solution 2: Run Steam as Administrator
Running anything with administrator permissions is sure to provide some help for plenty of errors and this one is not different. Simply running the Steam client as an administrator may be enough for you to stop seeing the annoying error once and for all.
- Locate the Steam shortcut or executable on your computer and open its properties it by right-clicking its entry either on the Desktop or the Start menu or the Search results window and choose Properties from the pop-up context menu.
- Navigate to the Compatibility tab in the Properties window and check the box next to the Run this program as an administrator option before saving the changes by clicking OK or Apply.
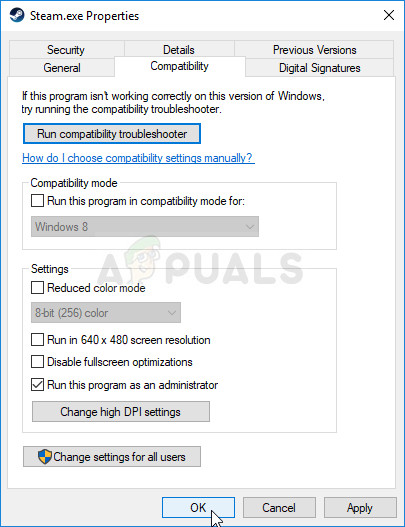
- Make sure you confirm any dialogs which may appear which should prompt you to confirm the choice with admin privileges and Steam should launch with admin privileges from the next startup. Open it by double-clicking its icon and try relaunching the login process to see if the error still appears.
Solution 3: Add an Exception for Steam Executables
The latest Steam update was reported to cause issues with Windows Defender Firewall. If you have Windows Defender running on your computer, you might want to add an exception for the Steam executable in order to make it run properly.
- Start up Control Panel by searching for the utility in the Start button or by clicking the Search button or the Cortana button at the left part of your taskbar (bottom left part of your screen).
- After Control Panel opens, change the view to Large or Small icons and navigate to the bottom in order to open the Windows Defender Firewall.
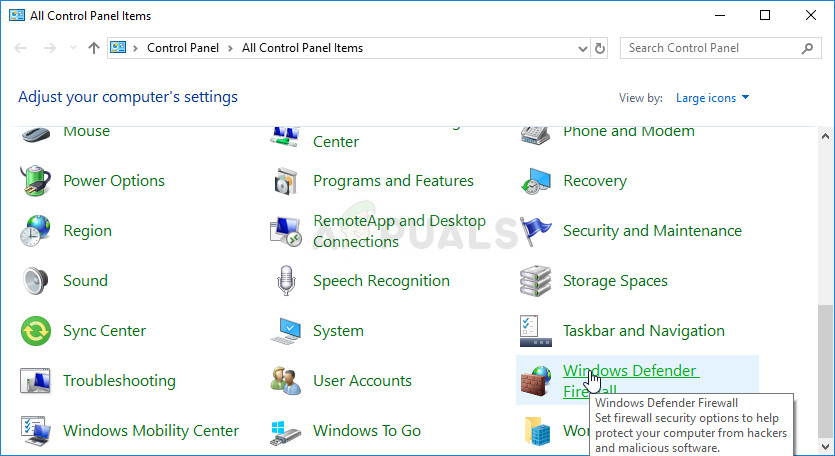
- Click on Windows Defender Firewall and click on the Allow an app or feature through Windows Firewall option from the left side list of options. A list of installed apps should open. Navigate to where you installed Steam and choose its main executable along with other executables in the folder.
- Click OK and restart your computer before retrying the login process after launching Steam.
Solution 4: Add a Launch Option to the Steam Executable
This specific launch option ‘-tcp’ will force Steam to use the TCP protocol over UDP. This is not a much significant change from the user’s perspective but it has definitely helped users resolve the “Steam is having trouble connecting to the Steam servers” problem as the problem went away after performing the steps below:
- Navigate to your Steam installation folder. If you haven’t configured any changes during the process of installation regarding the required installation folder, it should be Local Disk >> Program Files or Program Files (x86).
- However, if you have the Steam program’s shortcut on the desktop, you can simply skip the creation of a shortcut in the step below.
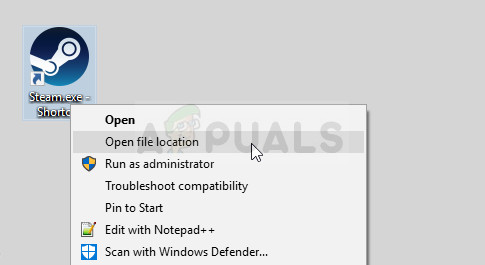
- Locate the exe file in the main folder, right-click on it, and choose to Create a shortcut on Desktop. Navigate to that shortcut, right-click on it and stay in the Shortcut tab.
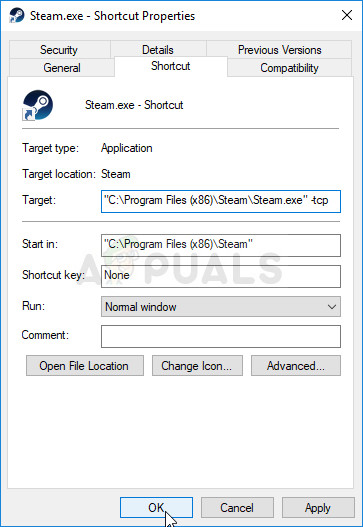
- In the Target area, add a space after the last quotation mark and add ‘-tcp’ before clicking OK. Check to see if the problem still appears.
Solution 5: Reinstall Steam
Reinstalling Steam is one of the least popular methods and there is a reason why it’s placed so low on our list. The method has solved the problem for so many users but it should be a last resort as there are plenty of simpler methods you should try out before doing this.
- Make sure you back up every library folder you wish to preserve on your computer and take note of their proper locations so that you can add them back once Steam is reinstalled.
- Click on the Start menu and open Control Panel by searching for it. Alternatively, you can click on the gear icon in order to open settings if you are using Windows 10.
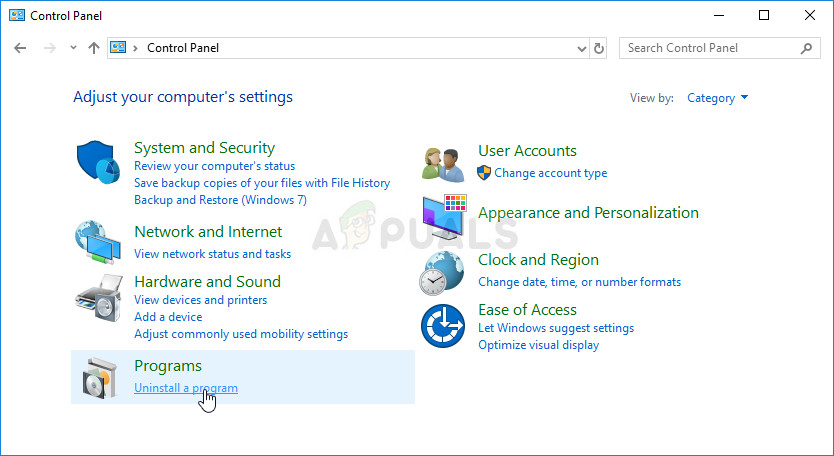
- In Control Panel, select to View as: Category at the top right corner and click on Uninstall a Program under the Programs section.
- If you are using the Settings app, clicking on Apps should immediately open a list of all installed programs on your PC.
- Locate the Steam entry on the list and click on it once. Click on the Uninstall button above the list and confirm any dialog boxes which may appear. Follow the instructions on-screen in order to uninstall Steam and restart your computer afterward.
Redownload the Steam client by navigating to this link and run the downloaded executable on your computer by locating it in the Downloads folder and double-clicking on it. Follow the instructions on the screen in order to install Steam again and check to see if the same problem appears on your computer again!
The post Fix: Steam is Having Trouble Connecting to the Steam Servers appeared first on Appuals.com.