Minecraft is a sandbox video game that was released in 2011 by Mojang. The game is among one of the most played online games and boasts a player base of 91 million players logging in to the game monthly. The game uses 1GB of RAM by default and it is disabled from using anymore by the launcher. There isn’t any lag on the game due to RAM mostly but if the users have installed custom textures and Mods the game gets laggy and users face screen tearing.

In this article, we will guide you on how to increase the allocation of RAM to Minecraft and remove the 1GB barrier established by the default settings of the game. It is recommended that you try to implement the guidelines in the correct order and not to overlook any step in order to avoid any conflicts.
How to Allocate More RAM to Minecraft?
It is recommended to update the Minecraft Launcher to the latest version before trying to implement this guide and also download the latest java version from here and install it. In order to increase the allocated RAM to Minecraft:
- First, we will have to identify the amount of RAM that is safe to be allocated to the game.
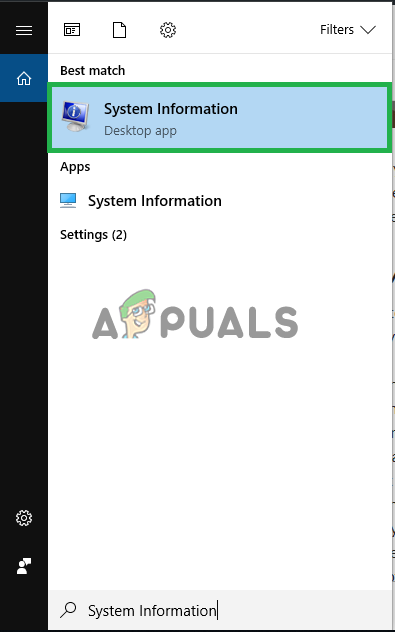
- Click on the search bar in the windows toolbar and type in “System Information“.
- Select the “System Information” icon from the list and open it.
![]()
Typing in “System Information” inside the search bar and selecting the first icon - Scroll down to the “Available Physical Memory” item and note the amount of RAM that is available.
![]()
Scrolling down to the “Available Physical Memory” heading and identifying the amount of RAM available - Now open the Minecraft Launcher and click on the “Launch Options” button.
![]()
Opening the Minecraft Launcher and selecting Launch Options - Inside the Launch Options, make sure that the “Advanced Settings” button is turned on.
![]()
Making sure that the “Advanced Settings” button is turned on - Click on the Profile that you use with the game.
- Enable the “JVM Arguments” button in the list and replace “-Xmx1G” with “Xmx(the amount of Ram that you want to allocate in Gigabytes)G”
![]()
Replacing this part of the Argument with the “-Xmx4G” command or the one according to the available RAM Note: A good number to allocate would be half of the available memory. For example, if your computer has 8Gb of available physical memory it is recommended that you put in “-Xmx4G” instead of “-Xmx1G”.
- Click on “Save” and exit the launcher.
- Launch the game and check to see if the physical memory allocated to the game has changed.
Note: Once a game world is loaded you can press “F3” to display the resource usage by Minecraft on the screen.


The post How to Allocate More RAM to Minecraft appeared first on Appuals.com.
