The OnePlus 7 Pro is a very root-friendly phone, as OnePlus actively encourages the root and modding community. Thus, this guide should be fairly simple to follow. Be aware that we will be unlocking your bootloader, which will perform a factory reset on your device. Make sure you back up all important data before proceeding.
Requirements:
- ADB (See Appual’s guide How to Install ADB on Windows)
- TWRP: OnePlus 7 / OnePlus 7 Pro
- Magisk installer
Unlocking your OnePlus 7 bootloader
Note: If you bought your OnePlus 7 through T-Mobile carrier, you need to request an unlock token, and your device must also be SIM unlocked.
- Go into Settings > About Phone > Tap on Build Number 7 times to unlock Developer Mode.
- Go into Developer Options and toggle the switch for OEM Unlock, and also the switches for Advanced Reboot, and USB Debugging.
- Connect your OnePlus 7 to your PC via USB cable.
![]()
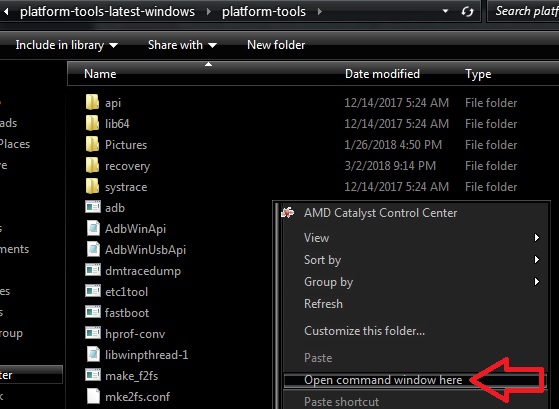
- Launch an ADB terminal on your computer (hold Shift + right click inside the main ADB folder and choose “Open a command window here”).
![]()
- In the ADB terminal, type adb devices.
- A prompt should appear on your OnePlus 7, asking to allow pairing with this computer. Agree.
- Next in the ADB terminal, type: adb reboot bootloader
- Your OnePlus 7 will now reboot into Fastboot Mode. In the ADB terminal, type fastboot oem unlock.
- On your phone, press the volume down key to select ‘Unlock the bootloader’, and power key to accept.
- Your OnePlus 7 will start the factory reset process, effectively erasing all of your data.
- After it is completed, it will boot into the Android setup wizard. Go through the process.
- Go back into Settings > enable Developer Mode > enable Advanced Reboot and USB Debugging switches again.
- If you plan on rooting with Magisk, copy the Magisk installer .zip to your external storage.

Installing TWRP on the OnePlus 7
- Hold the power button to bring up the reboot options, and choose Bootloader.
- Copy the TWRP files to your main ADB folder (both the latest .img and .zip files).
- Launch a new ADB terminal, and type ‘adb devices’ to pair your OnePlus 7 again.
- In the ADB terminal, type fastboot boot twrp-xxxxxxx.img (replace xxxxxx with the version number).
- Your OnePlus 7 will reboot into TWRP recovery. Go to Advanced > ADB Sideload, and swipe the bottom right bar.
- In the ADB terminal on your PC, type adb sideload twrp-installer-xxxxxxx.zip
- You’ll see the flashing process on the TWRP screen, just wait until its finished.
- If you’re satisfied with TWRP, go ahead and reboot. If you want to root with Magisk, follow the rest of our guide.
Rooting OnePlus 7 with Magisk
- In the TWRP main menu, go to Install > choose the Magisk installer .zip on your external storage.
- Swipe to flash, and when it’s finished, tap Reboot.
- Your phone may take a little while to boot up for the first time after being rooted, just leave it alone.
- When you’re back in the Android system, you may have a system update notification. You can also go to Settings > System > System updates, and tap “Install or Download”. When it’s finished, do not reboot.
![Magisk Manager menu]()
- Launch the Magisk Manager app, and tap the menu button.
- Tap Downloads, and search for “TWRP”. Download the TWRP A/B Retention Script. Do not reboot.
- Go back to the main Magisk menu, and tap the Install button, and Install to Inactive Slot. Now you may reboot. Your OnePlus 7 will now be Magisk rooted, with the latest system update from OnePlus!
The post How to Root the OnePlus 7 and 7 Pro appeared first on Appuals.com.