DNS is a short for Domain Name System. They are responsible for translating domain names to their binary values which are the internet’s language to know who/where to send the information. This service is responsible for all your internet activity, without it you will not be able to browse to websites. Understanding the importance of it, all ISPs, servers, systems provides DNS to their clients which helps them access websites.
If a DNS is down, you will see errors such as “DNS_PROBE_FINISHED_NXDOMAIN” on Google Chrome. Other browsers may also indicate similar error messages related to DNS. The aim of this guide is to show you how you can use Google’s or other PUBLIC DNS Servers which never goes down and is faster then the ISP’s own DNS Servers.
How to Change the DNS Settings on A MAC OS X
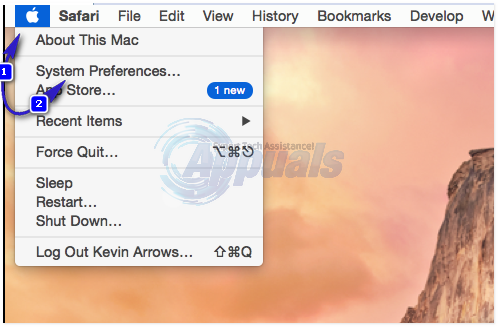
To change the DNS Settings, click the Apple icon on the top left and choose System Preferences.
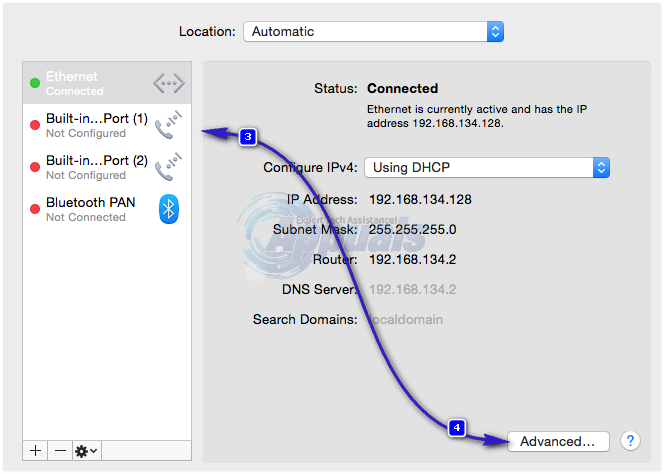
From the left pane, choose your Active Network Connection from the left pane and then click the Advanced Tab.
Then, click the + icon and add these two dns servers.
8.8.8.8
8.8.4.4
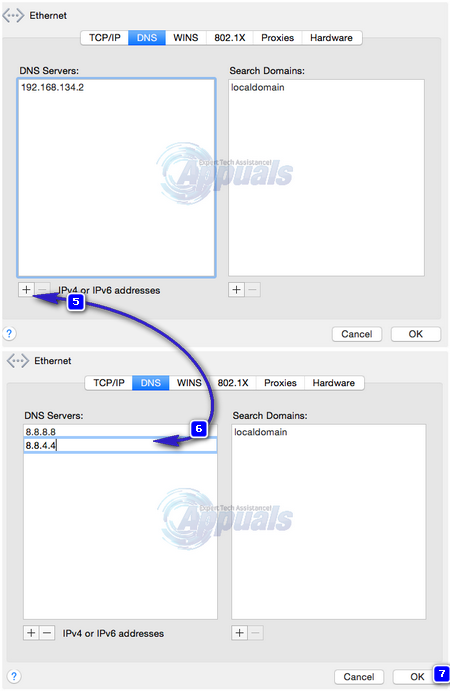
Then click OK.
The post BEST GUIDE: How to Change DNS On a Mac OS X appeared first on Appuals.com.