Remote Desktop is a very useful feature of Windows operating system that allows the user to remotely connect to the computer from any computer to the computer where RDP is enabled. By default, Remote Desktop uses port 3389. Since this is a common port, and if RDP is enabled on Windows, it will use this port which poses a security risk therefore it is highly recommended to change this port.
You can implement an account lockout policy to lock the account after (X Number of failed log-in) attempts. However, you don’t want anyone to login to the RDP and attempt brute force attacks.
How to Change RDP (Remote Desktop Port)
There are two methods to change the default Remote Desktop Port. Let’s have a look at both methods.
Method 1: Change RDP through Microsoft Fix It Utility
Click on this link to download Microsoft Fix it utility. When the file download dialogue box appears, click “Run”.
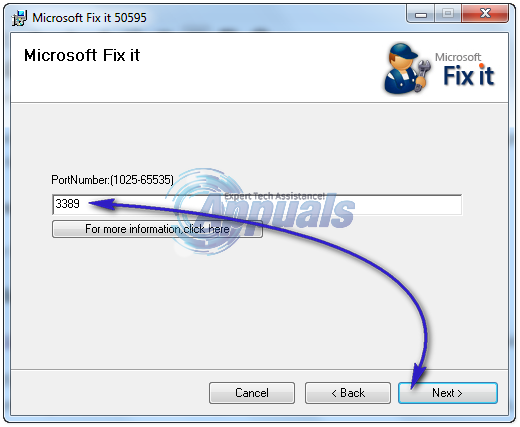
Follow the instructions in the Fix it wizard. Type a new port number between 1025 and 65535 in the PortNumber text box. Make sure the port is not in use already, otherwise it can conflict and won’t work.
Method 2: Change RDP through Registry Editor
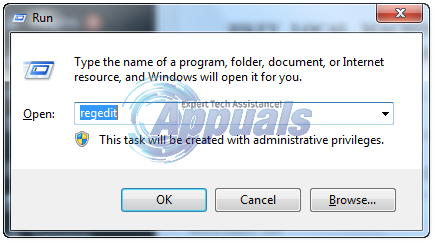
Hold the Windows Key and Press R to open Run Dialog, In the run dialog box type regedit and click the OK button.
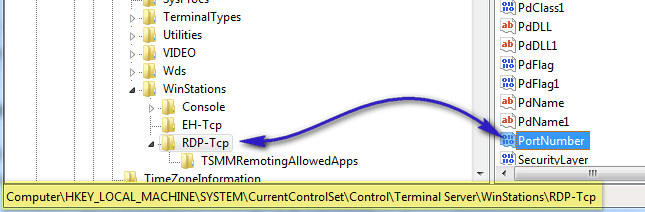
When registry editor opens, navigate to the following registry key:
HKEY_LOCAL_MACHINE\System\CurrentControlSet\Control\TerminalServer\WinStations\RDP-Tcp\PortNumber
On the Edit menu, click Modify, and then click Decimal. Type a new port number between 1025 and 65535, and click OK.
Note: When you change Remote Desktop Port, you must type the new port number when you try to connect to this computer. If you have a firewall installed, you may need to configure your firewall to allow the new port before you can connect to this computer using Remote Desktop.
The post How to Change Remote Desktop Port in Windows appeared first on Appuals.com.