Quite a number of Windows users have suffered from a problem where up to 95% of their CPU and/or Disk have been used by a process known as System Host: Local System (Network Restricted). This problem first surfaced back in the days of Windows 8 and has stuck around to haunt the brave users of Windows 10. Users affected by this issue have reported the System Host: Local System (Network Restricted) process hogging up to 95% of their CPU and up to 72 MB/s of their computer’s total capability to read data from and write data to its Hard Disk Drive. Those statistics are significant to say the least.
However, System Host: Local System (Network Restricted), in and of itself, is pretty ambiguous as it is not any one service but a guise under which a number of different Windows system services run, any of which could be causing unusually high CPU and/or Disk usage. In addition, to make things worse, this issue can also be caused by memory leak in the non-paged pool of memory. Thankfully, due to a lot of intelligent dwelling on the matter, it has been found that the most common offender that gives birth to this issue is a Windows system service known as Superfetch – a service that Microsoft claims aims to maintain and improve the performance of computers as time goes by but, in actuality, is nothing but a problem waiting to happen. If, in any case, Superfetch is not the root of the issue, it is certainly being caused by a memory leak in the non-paged pool.
The following are the two most effective solutions that you can use to try and fix this problem:
Solution 1: Disable the Superfetch service
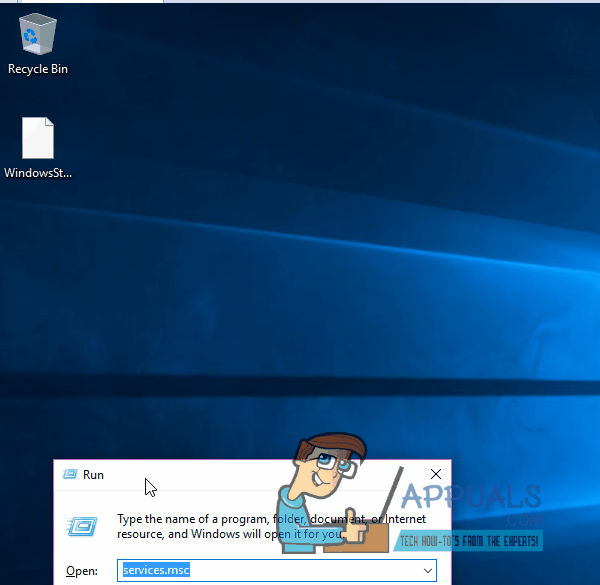
Press Windows Logo key + R to open a Run
Type services.msc into the Run dialog and press Enter.
Scroll down the list of services on your computer and locate the service named Superfetch.
Double-click on Superfetch to edit its settings.
Click on Stop to stop the service.
Set the Startup type for Superfetch to Disabled.
Click on Apply and then on OK.
Restart your computer and check to see whether or not the problem has been fixed once it boots up.
Solution 2: Fix the memory leak in the non-paged pool of memory
If Solution 1 doesn’t work, don’t fret as you can still move onto this solution. To try and resolve this issue using this solution, you need to:
Press Windows Logo key + R to open a Run
Type regedit into the Run dialog and press Enter.
In the left pane of the Registry Editor, navigate to the following directory:
HKEY_LOCAL_MACHINE > SYSTEM > ControlSet001
Click on Services in the left pane and then scroll down under services and chose Ndu.
In the right pane, locate and double-click on the registry value titled Start to modify it.
Change its Value data to 4. Doing so will disable it and plug the memory leak in the non-paged pool.
Click on OK.
Close the Registry Editor.
Restart your computer. When your computer boots up, you should see that System Host: Local System (Network Restricted) is no longer using a massive amount of your CPU and/or Disk.
The post SOLVED: High CPU Usage by Service Host: Local System (Network Restricted) appeared first on Appuals.com.