Let’s Encrypt is a Linux Foundation Collaborative Project, open certificate authority, provided by the Internet Security Research Group. Free for anyone that owns a domain name to use Let’s Encrypt to obtain a trusted certificate. The ability to automate the renewal process, as well as working to make it easier to install and configure. Help keep sites secure, and advance TLS security practices. Maintain transparency, with all certificates publicly available for inspection. Allow others to use their issuance and renewal protocols as an open standard.
Essentially, Let’s Encrypt is trying to make security not reliant upon ridiculous hoops made by large, for profit organizations. (You could say I believe in open source, and this is open source at it’s best).
There are two options: download the package and install from repositories, or installing the certbot-auto wrapper (formerly letsencrypt-auto) from letsencrypt directly.
To download from the repositories
sudo apt-get install letsencrypt -y
Once the install is finished, time to get your cert! We are using the certonly standalone method, spawning an instance of a server just for acquiring your certificate.
sudo letsencrypt certonly –standalone –d example.com -d subdomain.example.com -d othersubdomain.example.com
Enter your email and agree to the terms of service. You should now have a certificate good for each of the domains and sub-domains you entered. Each domain and sub-domain gets challenged, so if you don’t have a dns record pointing to your server, the request will fail.
If you are wanting to test out the process, before getting your actual certificate, you can add –test-cert as an argument after certonly. Note: –test-cert installs an invalid certificate. You can do this an unlimited number of times, however if you use live certs there is a rate limit.
Wild card domains are not supported, nor does it seem that they will be supported. The reason given is that since the certificate process is free, you can request as many as you need. Also, you can have multiple domains and sub-domains on the same certificate.
Moving to the configuration of NGINX to use our newly acquired certificate! For the path to the certificate, I use the actual path, rather than a regular expression.
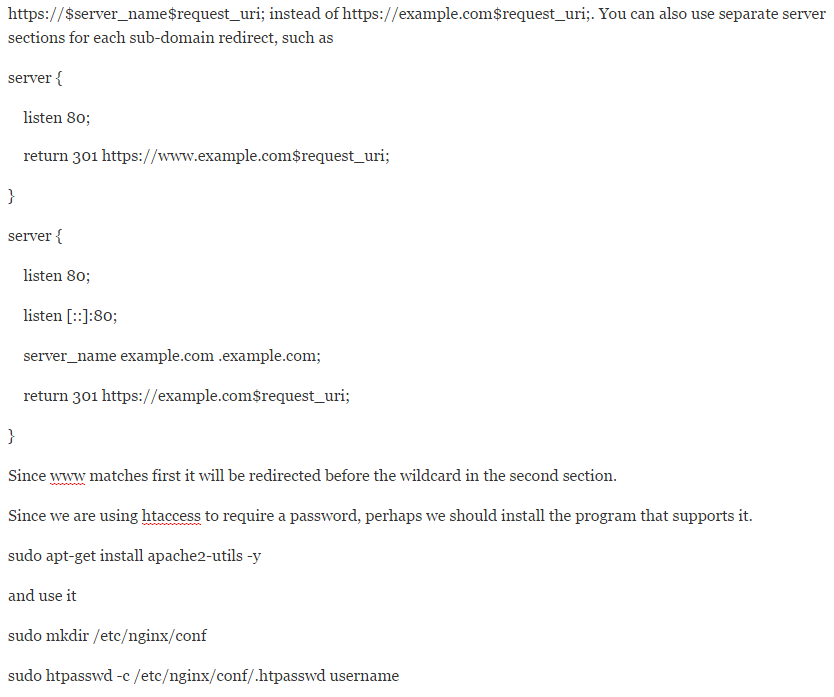
We have SSL, might as well redirect all of our traffic to it. The first server section does just that. I have it set to redirect all traffic, including sub-domains, to the primary domain.
If you are using Chrome and don’t disable the above listed ssl ciphers, you will get err_spdy_inadequate_transport_security. You also need to edit the nginx conf file to look something like this to work around a security flaw in gzip
Should you find that you are getting something like access denied – you need to double check that the server_name (and root) is correct. I just finished banging my head against the wall till I passed out. Luckily in my server nightmares, along came the answer – you forgot to set your root directory! Bloody and bludgeoned, I put in the root and there it is, my lovely index.
If you wand to set up for separate sub-domains, you can use
You will be prompted to create a password for username (twice).
sudo service nginx restart
Now you will be able to access your site from anywhere with a username and password, or locally without. If you wish to always have a password challenge, remove the allow 10.0.0.0/24; # Change to your local network line.
Mind the spacing for auth_basic, if it is not right, you will get an error.
If you have the password wrong you get hit with a 403
One last item we need to do, set up autorenewal of the SSL certs.
For this a simple cron job is the right tool for the job, we are going to put it as the root user to prevent permission errors
(sudo crontab -l 2>/dev/null ; echo ‘0 0 1 * * letsencrypt renew’) | sudo crontab –
The reason for using /dev/null is to ensure that you can write to the crontab, even if one did not previously exist.
The post Installing Free SSL Certificate on LEMP Stack with Let’s Encrypt appeared first on Appuals.com.


